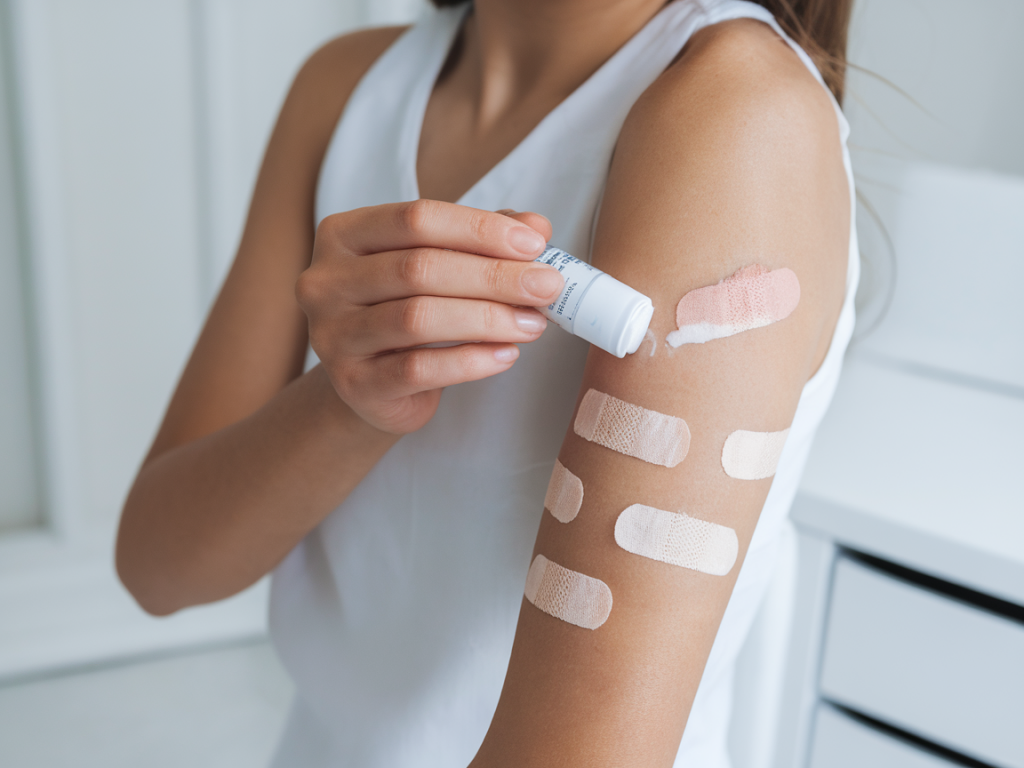
I’ve always been curious about retinol — the skincare ingredient that promises brighter skin, fewer breakouts, and softer lines. But as someone who likes to keep routines uncomplicated and wallet-friendly, I’ve wondered the same thing many of you do: can affordable retinol serums really give visible results in eight weeks? Over the past few months I ran a small, deliberate experiment on myself using budget-friendly retinol serums, and I documented everything with a five-step patch-test plan that’s realistic for everyday life. Below I share what I did, what I learned and the simple protocol you can use to test a new retinol product safely at home.
Why a patch-test plan matters (especially for retinol)
Retinol is powerful. It accelerates cell turnover, stimulates collagen and can improve texture and pigmentation — but it can also cause irritation, dryness and sensitivity, especially if you jump in too fast. A controlled patch-test helps you see how your skin reacts over time without committing your whole face to something that might be too strong. It’s also a kinder way to introduce an active ingredient if you have rosacea, eczema, or generally reactive skin.
What I used and why
For this experiment I chose three affordable retinol serums that are easy to find in drugstores or online and commonly recommended for beginners:
- The Ordinary Retinol 0.2% in Squalane — low strength and a gentle vehicle (squalane) to reduce dryness.
- CeraVe Resurfacing Retinol Serum — formulated with ceramides, niacinamide and encapsulated retinol for gradual release.
- RoC Retinol Correxion Sensitive Night Serum — a drugstore classic designed for sensitivity.
I picked these because they span different textures and delivery systems without breaking the bank, and I wanted the results to be relatable for readers on a budget.
My five-step patch-test plan
This plan is simple enough to follow in real life but thorough enough to catch irritation before it becomes a problem.
- Step 1 — Choose your test spot: I used the inner forearm and a small area along my jawline. The inner forearm is a good test surface for sensitivity; the jawline gives a better sense of how the product behaves on facial skin.
- Step 2 — Cleanse and apply once, observe 24–48 hours: Clean the area, apply a pea-sized amount of serum to the test spot once in the evening, then observe for redness, itching, burning, or swelling for 48 hours.
- Step 3 — Gradual build-up (week 1–2): If there’s no adverse reaction, start applying the product to the test area twice a week (e.g., Tue + Fri) for the first two weeks. Continue to monitor and photograph the area every application.
- Step 4 — Increase frequency (week 3–4): Move to every other night for weeks 3 and 4 if skin tolerates it. Keep your other products minimal (gentle cleanser, simple moisturizer, and sunscreen in the morning).
- Step 5 — Full-face trial and eight-week tracking (week 5–8): If the test areas are clear and show no persistent irritation, apply the retinol to your whole face every other night for weeks 5–8. Take photos weekly from the same angles and in natural light. Keep a short diary: dryness, peeling, breakouts, glow, texture changes.
How I documented results
I made it easy for myself: a quick diary entry after each application noting immediate sensation (tingle, tightness, nothing), any visible changes the next morning, and a weekly photo. I also kept a simple table to track frequency and visible outcomes:
| Week | Frequency | Visible changes | Skin notes |
|---|---|---|---|
| 1 | 2x (test spot) | — | No reaction |
| 2 | 2x (test spot) | Slight flaking on jawline | Moisturize more |
| 3 | Every other night (test spot) | Texture smoothing begins | Tolerable tingling first few minutes |
| 4 | Every other night (test spot) | Reduced post-blemish marks | Maintain barrier with ceramide moisturizer |
| 5–8 | Every other night (face) | Smoother texture, fewer small bumps, slight brightening | Occasional peeling first week of full-face use |
What I noticed at week eight
By eight weeks I saw modest but tangible improvements. My skin texture felt smoother, the tiny congestion bumps along my jaw and cheeks had reduced, and the tone looked a touch more even. I didn’t see dramatic wrinkle reduction — that takes longer and often higher concentrations — but the overall surface of my skin looked fresher.
Important caveat: I followed a gentle approach, layered in barrier-supporting ingredients (I used a simple ceramide-rich moisturizer and sunscreen every morning), and avoided combining retinol with strong exfoliants like AHA/BHA simultaneously. That likely muted initial irritation and let me keep a consistent routine.
Common questions you might have
- Can I expect big changes in eight weeks? Probably not dramatic anti-ageing miracles, but yes to smoother texture, fewer breakouts and gradual brightening. Bigger, long-term results often need higher concentrations and more time.
- What if my skin flakes? Keep moisturising, reduce frequency, and don’t panic. Flaking is normal when cell turnover speeds up. If you get severe redness or pain, stop and seek advice from a dermatologist.
- Do I need sunscreen? Absolutely. Retinol increases photosensitivity, so daily SPF is non-negotiable.
- Can I combine retinol with vitamin C? Yes, but many people prefer vitamin C in the morning and retinol at night to reduce irritation.
Practical tips if you want to try this
- Start with a low concentration (0.2–0.3% or a product marketed for sensitive skin).
- Use a soothing, fragrance-free moisturizer and a gentle cleanser.
- Be patient. Build up frequency slowly and listen to your skin.
- Keep a photo log under consistent lighting to notice real change.
- Remember budget serums can be effective — vehicle and formulation matter more than price tag alone.
If you try this five-step patch-test plan, I’d love to hear how it goes. My experience showed that affordable retinols can give visible improvements in eight weeks when introduced thoughtfully and supported with barrier care — and that’s encouraging if you want results without a complicated or costly routine.